Making a vacuum cleaner cover is not as hard as it may seem. In this blog post, we will show you how to make one using some simple steps and materials.
This project can be completed in just a few hours, and it is a great way to protect your vacuum cleaner from dirt and dust. Let’s get started!
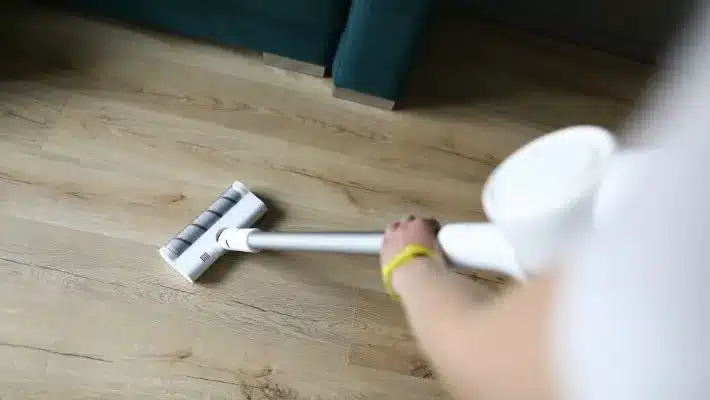
Materials You Will Need For The Project
Making vacuum cleaner covers is an enjoyable project that can help you improve an existing home appliance. In order to make sure it turns out right, however, there are some materials you will need in addition to your vacuum cleaner: the fabric of your choice, scissors, 1-inch wide elastic, an iron, an ironing board and a sewing needle.
The fabric should be sturdier stuff – something like twill, canvas or denim- so that it withstands the regular wear and tear of cleaning.
Making this cover is all about accurately measuring the length and circumference of the vacuum cleaner and cutting fabric accordingly.
You also need to mark straight lines on the wrong side of the fabric for a neat and perfect look.
Finally, use the elastic along the hems for a snug fit. Owning a custom-made cover can add both style and flair and save you from replacing those dull-looking covers time and again!
Step By Step Instructions For Making The Cover
Making a vacuum cleaner cover is relatively straightforward; it only takes a few simple steps to complete.
To begin, always start by finding the right size and shape of fabric that will fit the vacuum’s particular make and model. This can often be found in your local craft store or online.
Additionally, make sure you double-check that the fabric you choose is durable enough to last many items of washing and withstand the heat produced by the motor. When measuring out your fabric, remember to add two extra inches on all sides to allow for the extra length needed when wrapping it around the vacuum cleaner’s body.
Once measured, cut out your piece of fabric according to your measurements and be sure to leave about a quarter of an inch allowance for stitching up any seams.
Next, with a pencil and ruler, draw a rectangle onto the wrong side of the fabric which will determine where you’ll need to place any pockets that may be necessary for filter placement or other accessories depending on the model.
Lastly, stitch the pocket in place along with any decorative lacing or trims that are desired before pinning one side together and sewing with a straight stitch all around the edge and stuffing cushion batting into the opening before finishing off with more stitches until finished.
Making a new vacuum cleaner cover does not have to be difficult at all – just keep these simple steps in mind and you should end up with an attractive fitting cover in no time!
Tips And Tricks For A Successful Outcome
Making vacuum cleaner covers can be daunting, but with a few tips and tricks, you can create the perfect cover for your home!
Before you get started, figure out the size of the cover that you need by measuring the length and width of your vacuum cleaner. Then decide on a fabric that will work best; upholstery fabrics are usually a good choice as they are durable enough to withstand daily use. Make sure to also factor in factors like how much cleaning or washing the cover will need.
Once you have gathered your supplies and measured out the fabric pieces that you’ll need to make your cover, start sewing! Add extras like padded areas or pockets if desired, which can make all the difference. Making sure your seams are secure is key to creating a sturdy cover that won’t come apart at the seams.
Finally, apply a waterproof coating if wanted to give it an extra layer of protection from spills or other messes. Following these tips and tricks for making vacuum cleaner covers is sure to lead to successful results!
Variations On The Basic Design
Making a vacuum cleaner cover can be a creative and satisfying way to customize your home cleaning device to better fit your living space and match your personal style.
There are many variations that can be created from the basic design, and no matter what kind of vibe you’re trying to achieve there is sure to be an ideal combination of elements. Making a custom vacuum cleaner cover can involve selecting the fabric, choosing decorative trimmings, or even including pockets for small accessories.
Furthermore, if you’re artistically inclined then you’ll have endless possibilities for crafting embroidery designs into the covers too! Whatever variation you decide to create from the basic design, it is certain to make an impressive addition with its own unique flair.
In addition, making vacuum cleaner covers is a great way to vary the basic design of the machine. Not only can they provide protection against bumps and other external damage, but they also give you a chance to add your own personal touch. Vacuum cleaner covers come in a variety of sizes, shapes, colours, and materials.
However, before investing in one, make sure that it is compatible with your specific model and size of the vacuum so that it fits correctly and securely.
Making a cover for your vacuum offers even more advantages than buying one since you can select any material you want including leather or suede, have it custom-fitted for your exact measurements, or simply choose designs that express your personality.
Conclusion
So there you have it – a simple and easy way to make your own vacuum cleaner covers. All you need are some basic materials, a little bit of time and patience, and you can create a custom cover that will protect your machine from dirt and dust.
We hope you’ve found these instructions helpful and that your new vacuum cleaner cover turns out beautifully. Have any questions or tips to share? Leave us a comment below!